Sunday, November 19, 2006

The Electrical Cable


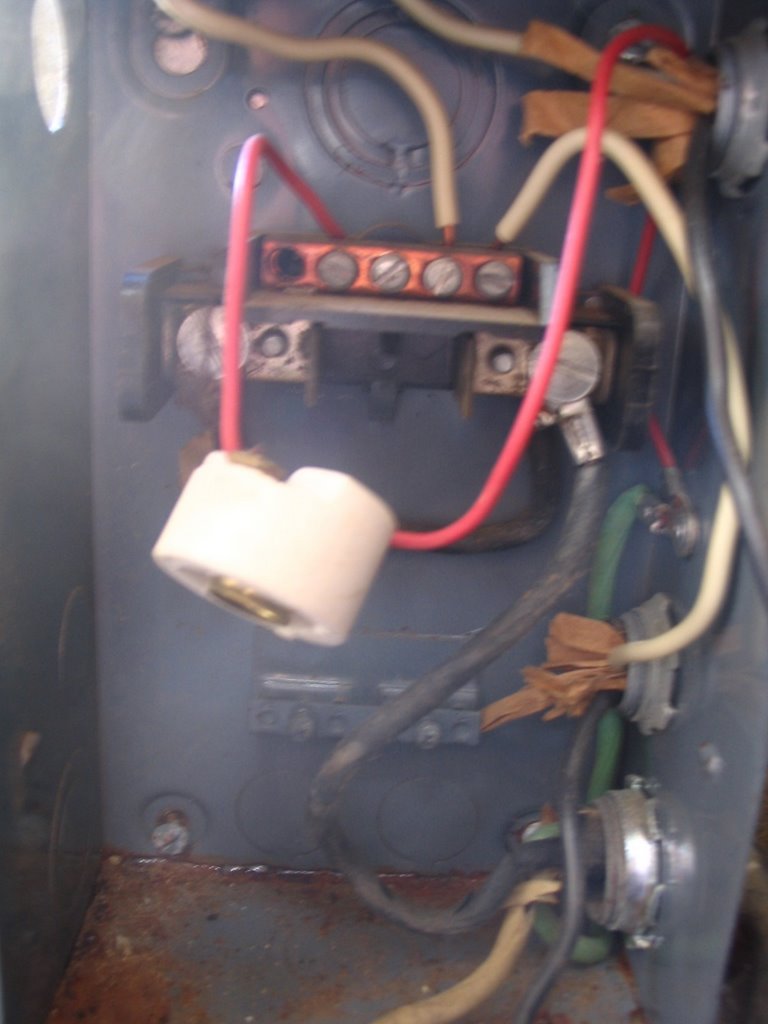
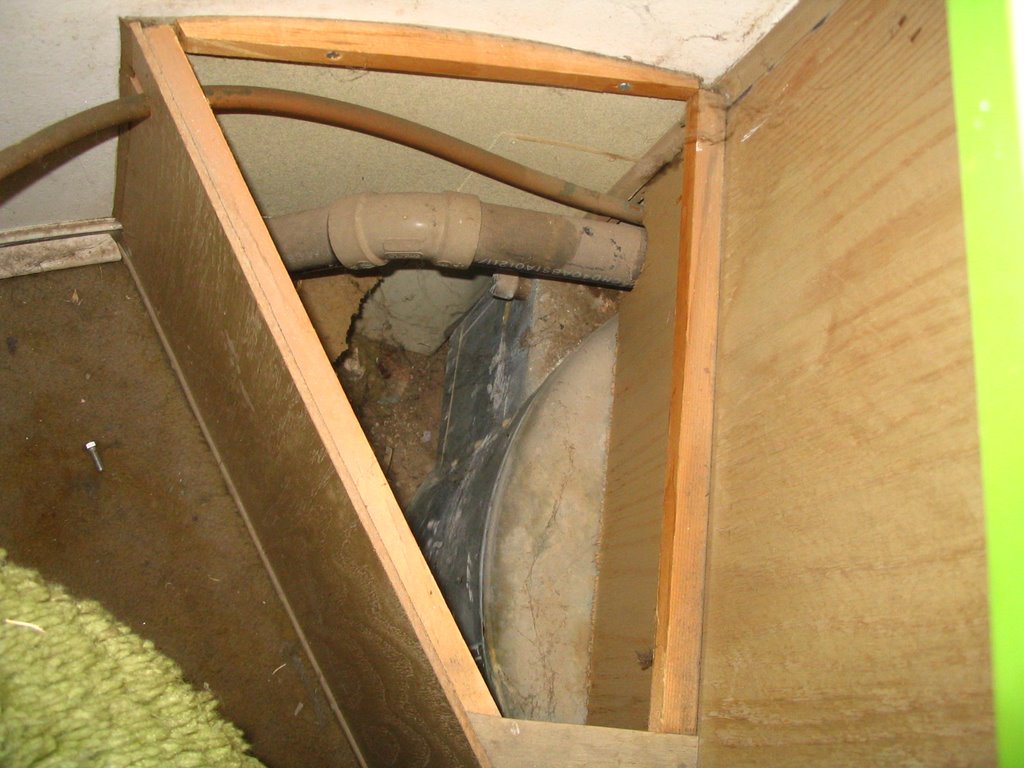
I decided to replace the long electrical cable connecting the Airstream to land power. THe old one was frayed and cracked in several places and looked very unsafe. Since I'm not into becoming a human torch, the cable needed to be replaced.

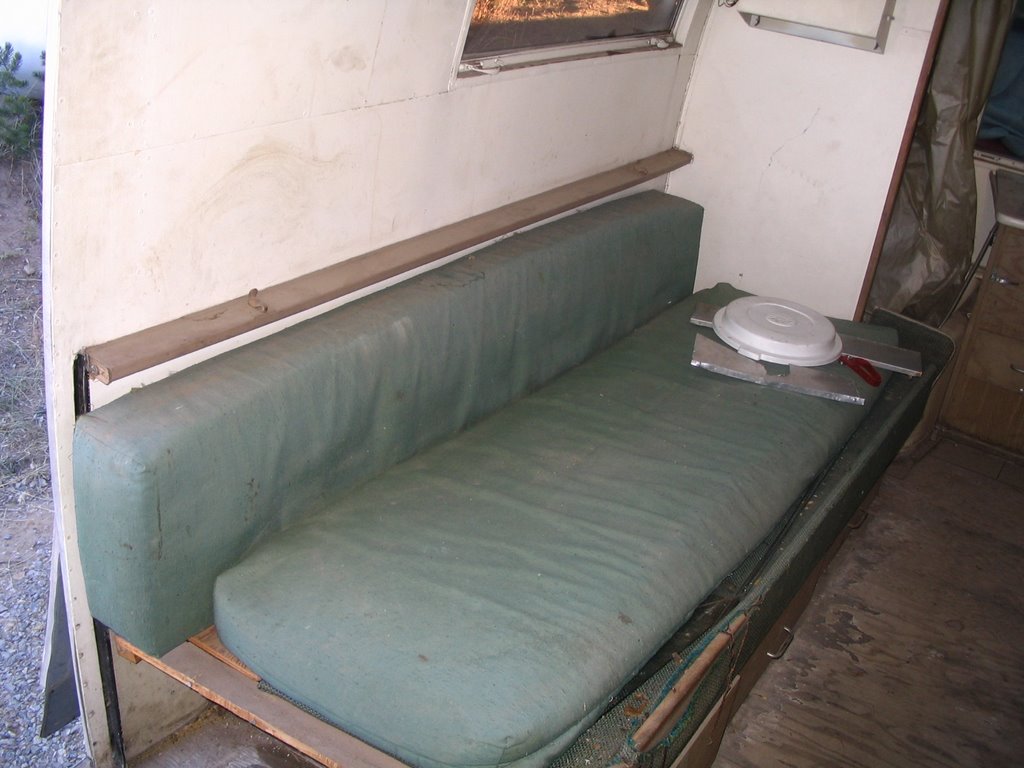
The first step was to remove the double bed and frame. I did that to get enough room and to clean underneath the bed. Lots of dirt there. Of course, there would be problems. It took me an hour or more to get two screws out. The screws held the frame to the floor and the slots and holes were filled with dirt and other things I couldn't identify.

I then removed the old cable. I used a 30 amp cable as a replacement. I followed the old wire pattern ( white to whote, black to black, green to green) There is a cable strain relief that needed to be unscrewed, but that was no big deal.

Tuesday, November 07, 2006

Interior Pics

Here are some more "before" pics for your viewing pleasure


What I've done

We started working on the Airstream after giving it an evaluation. The first thing we did was clean out the old junk and dirt. Our tools were paper towels, Krud Kutter, a vacuum cleaner ( my shop vac), and elbow grease. It's amazing how our alimunum beauty changed with the cleaning.

I also wanted to kinda seal her up. We live in the East Mountain area of Albuquerque, which is very rural. I'm on 5 acres and have a fantastic view of the Sandia Mountains. However, since it is rural, we have critters. My wife say birds flying into the Airstream through a broken window. Since the inside of the Airstream is a no critter zone, I had to do something about the windoes. What I did was go to out local big box home repair center and bought a couple of acrilic sheets. I then cut them to the correct size and installed them temporarily using a dab of silicone. I first tried to use the score and snap method but that didn't work. The sheet would follow the score some but then go off the score.

I then used a variable speed jig saw and a fine blade to cut the sheet. The jig saw I have has a thumb speed control that was very handy. I scored the sheet, then cut along the score. There is probably a better blade to use when cutting acrylic, but I used what was on hand.

Here are a couple of pictures of the open windows, before the acrylic treatment.


Monday, November 06, 2006

The Evaluation, Part 1

I've started going through the siver beauty and here's what I've found, so far.

Dirt

There is a ton of dirt everywhere in the trailer. The sink and countertop is filthy. The shower is fill of dirt and grime. We live in the desert, in Albuquerque, so the dirt is expected. Lots of dirt, but at least it is cleanable.

The Exterior

The exterior isn't in too bad a shape. Here's what I've found so far
  • There is a small ding in the back on the lefthand side.
  • There are places where steel rivets were used and are much closer together than the factory rivet pattern. These rivets are also rusty.
  • There are holes in the skin near the door. These holes look like someone added a lock to the door at one time.
  • A few panel fasteners are missing
  • The skin has wrinkles in several places as well as some black marks on the side opposite the door
  • There looks like a patch in at least one and maybe two places.
Windows
  • The window over the sink is missing. The frame is there but one side is bent in.
  • The glass in lower window on the left hand side is broken. The glass frame is separated in one corner
  • The cranks of the large window just aft of the door don't work
  • The trim and seals are, of coruse, dried out and brittle.
  • The front and back windoes are intact
  • The jalousie window next to the door works, but the seals need replacement
Interior/Front
  • The seats are missing.
  • The table is there and works.
  • All the underseat drawers are there and in decent shape.
  • The wood frames are intact.
  • The trim piece next to the door has a tear in the material.
Interior/Kitchen
  • All the appliances are in place. Don't know if any work.
  • One of the cutting board/covers is still there
  • The sink has a couple of small chips in the porcelaine
  • The support for the stovetop table is missing. The hinge is still in place.
  • The refrigerator interior is filthy
Interior/Bathroom and Shower
  • The toilet is still in place, but dirty
  • The shower tub has a couple of chips
  • THe seal around the tub need reworking
  • The sink is in place
  • The cabinets are in place and in decent shape
  • It looks like some original rug is in the bathroom
Interior/Middle Couch
  • THe pads are there but need replacement
  • THe side next to the door is broken off but still with the trailer
  • The underbed drawers are there and in decent shape. Some chipping on the side next to the floor.
  • The bed slide is intact and works
Electrical System
  • The plug in cord is cracked and needs replacement
  • I plugged in the cord and the 110 outlets work, except the one near the kitchen sink
  • The vent fan works
  • All the lightbulbs are missing
  • The inverter/converter is still in place and with clean connections. Don't know if it works.
  • No battery so far
Plumbing system
  • The fresh water tank is in place. The pressure cap is in place
  • A hole is in the kitchen sink trap
  • A copper tee under the bathroom sink is disconnected
  • No sewage hose
  • I open the toilet and can see the ground, so I can't tell the state of the dump valve
  • THe hot water tank is in place
  • All the lines are in place
Interior/Floor
  • The tiles need replacement. Most of the tile is gone
  • No rot found so far
  • THe wood looks a little rough but usable.
Propane system
  • Both tanks are missing
  • The connection to the tanks is missing. an open pipe is all that's there.

The Airstream Pics


We purchased an Airstream! Whatever possesed me to buy one, especially on that needs work. I'm a glutton for fix-er-up punishment I guess.

The new member of our family is a 1961 22ft Airstream Land Yacht Safari. It needs work.

Here are a few pictures of the silver beauty.


Hope you find these pics entertaining as the "before" shots